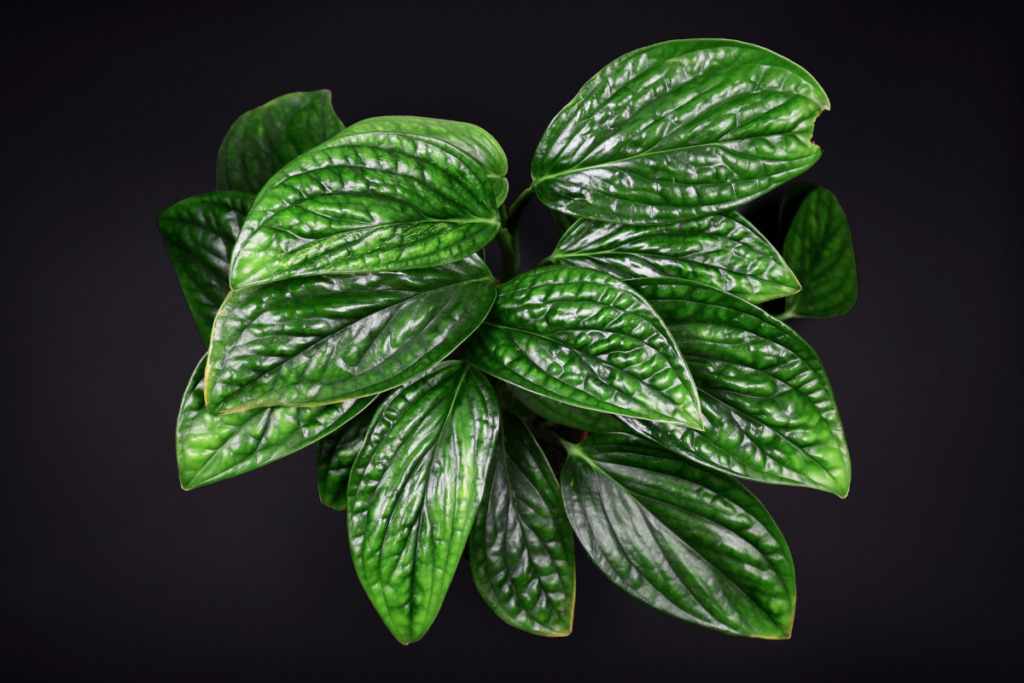
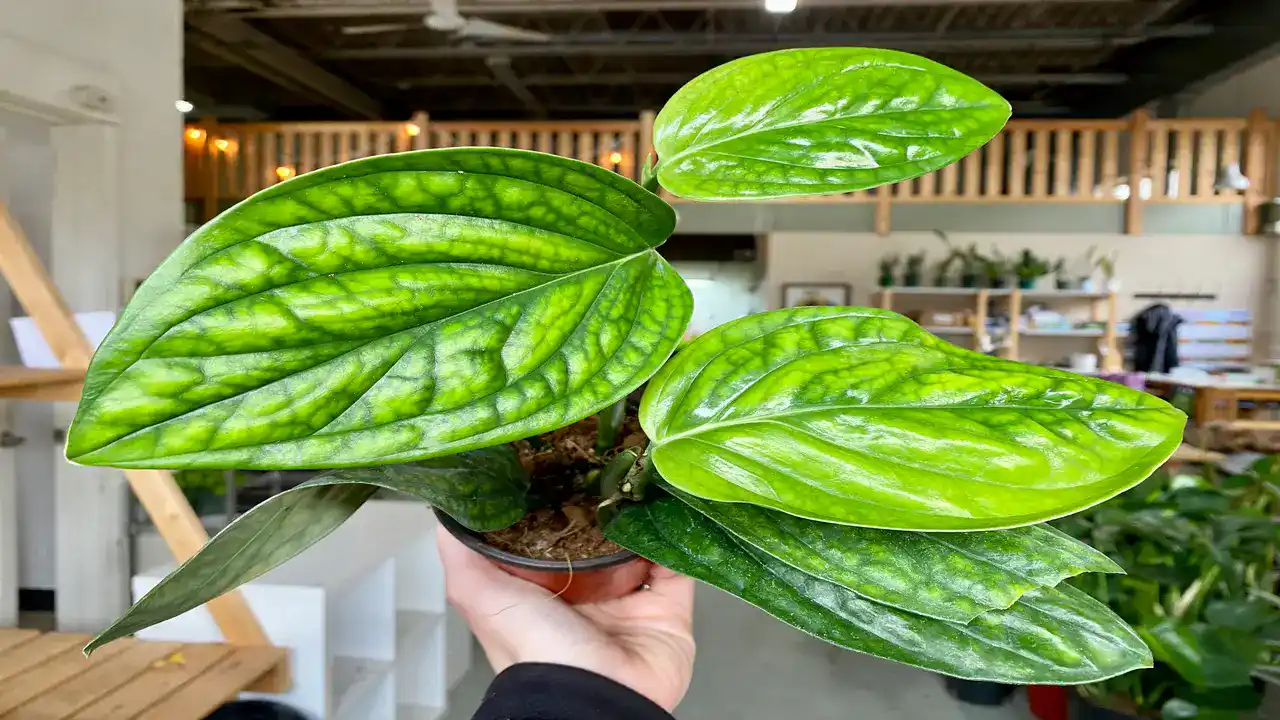
Monstera Peru, also known as Monstera karstenianum, is a captivating and distinct member of the Monstera family, renowned for its striking foliage and impressive growth habit. With its elongated, heart-shaped leaves adorned with intricate fenestrations, Monstera Peru adds an intriguing tropical flair to any indoor space. This resilient plant thrives in bright, indirect light and requires minimal maintenance, making it an ideal choice for both novice and experienced plant enthusiasts. Join us as we delve into the fascinating world of Monstera Peru, exploring its origins, care requirements, and tips for fostering lush growth in your home or office environment.
| Common Name | Monstera Peru |
| Botanical Name | Monstera karstenianum |
| Family | Araceae |
| Plant Type | Perennial, vine |
| Mature Size | 6-8 ft. tall, 12-14 in. wide |
| Sun Exposure | Partial |
| Soil Type | Loamy, well-draining |
| Soil pH | Acidic, neutral |
| Hardiness Zones | 10-12 (USDA) |
| Native Area | South America |
| Toxicity | Toxic to pets, toxic to people |
How To Grow Monstera Peru?
Monstera Karstenianum, is a beautiful houseplant with unique textured leaves. While considered rare, it’s surprisingly easy to care for. Here’s a breakdown of its key growing needs:
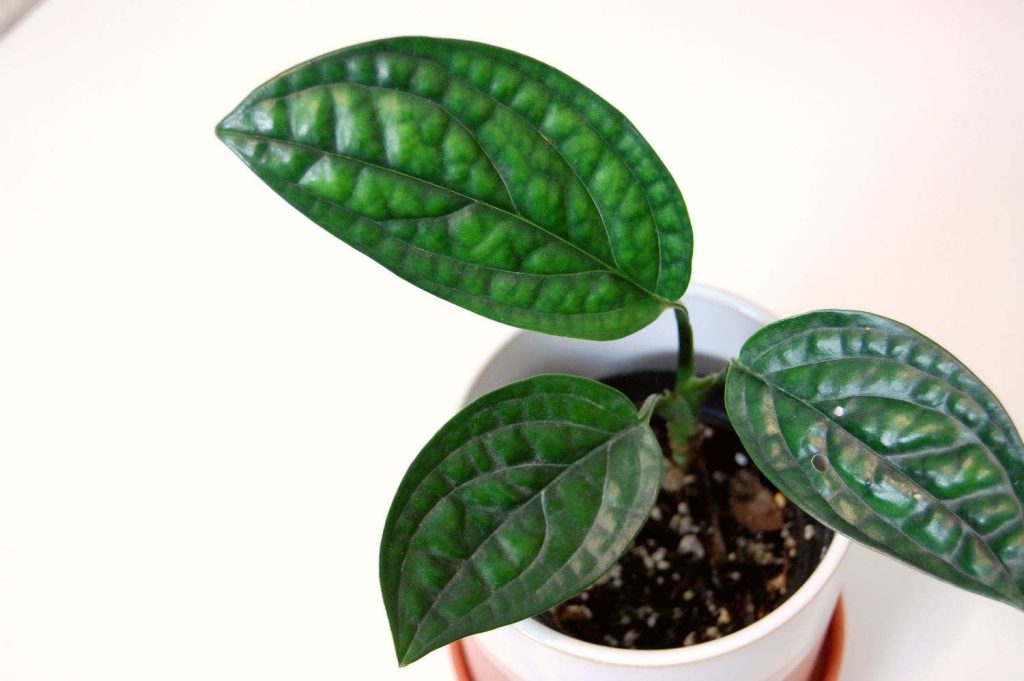
Light:
- Bright, indirect sunlight is ideal. Avoid harsh direct sun, which can scorch the leaves.
- An east or west-facing window is a good spot.
Monstera peru and Philodendron rugosum both prefer similar care conditions, including warm temperatures, high humidity, and indirect light.
Water:
- Water thoroughly when the top inch of soil dries out completely.
- Monstera Peru prefers evenly moist soil, but not soggy.
- Reduce watering in winter when growth slows.
Soil:
- Use a well-draining, airy potting mix.
- A good option is a mixture of one part coco coir, one part orchid bark, and one part perlite.
Temperature and Humidity:
- Ideal temperatures range from 68°F to 86°F (20°C to 30°C).
- Prefers moderate to high humidity levels (around 40-60%).
- You can increase humidity by misting the leaves regularly or using a humidifier.
Support and Potting:
- Provide a moss pole or trellis for your Monstera Peru to climb on. This encourages aerial root growth and larger leaves with splits.
- Alternatively, you can let it trail in a hanging basket.
- Repot every 2-3 years or when the plant becomes rootbound.
Additional Tips:
- Fertilize monthly during the growing season (spring through summer) with a balanced, water-soluble fertilizer.
- Prune in spring or early summer to maintain size and shape. Remove yellow or damaged leaves to encourage new growth.
- Wipe leaves with a damp cloth occasionally to remove dust and improve photosynthesis.
Potting and Repotting Monstera Peru
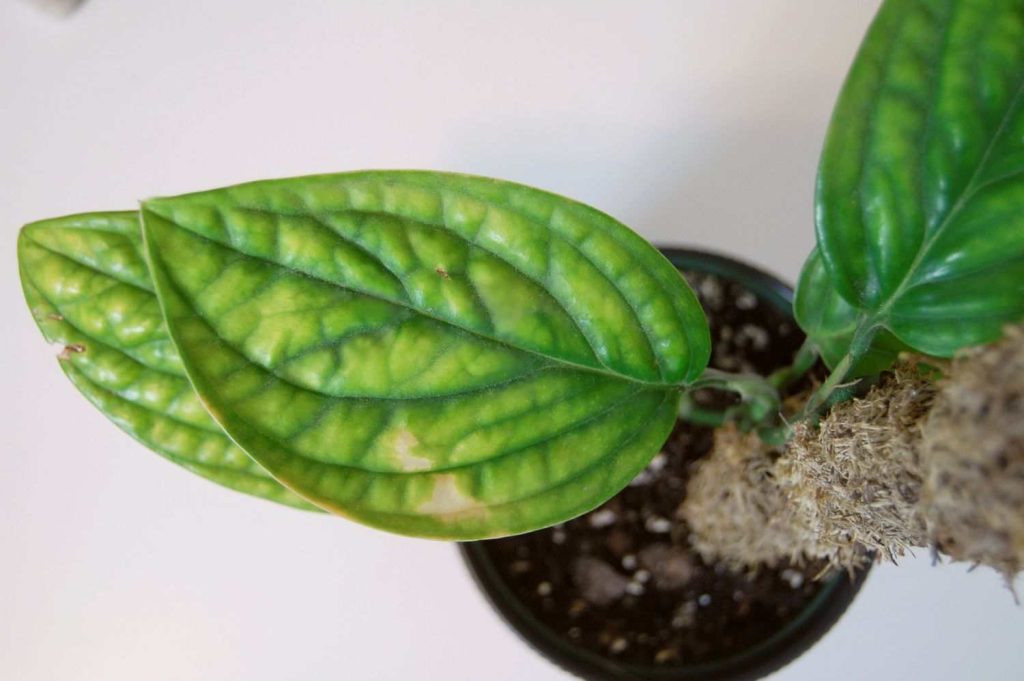
Potting and repotting Monstera Peru (Monstera karstenianum) are crucial steps to ensure the plant’s healthy growth. Here’s a guide to help you with these processes:
Potting Monstera Peru
Initial Potting
- Choose the Right Pot:
- Size: Select a pot that is 1-2 inches larger in diameter than the root ball of your Monstera Peru.
- Material: Terracotta or plastic pots work well. Ensure the pot has drainage holes to prevent waterlogging.
- Prepare the Soil:
- Soil Mix: Use a well-draining, loamy soil mix. A good combination is potting soil mixed with perlite and orchid bark.
- pH Level: The soil should be slightly acidic to neutral (pH 5.5-7.0).
- Planting:
- Fill the bottom of the pot with the soil mix.
- Place the plant in the pot, making sure it sits at the same depth as it was in its previous container.
- Fill in around the root ball with the remaining soil mix, pressing gently to remove air pockets.
- Water thoroughly to settle the soil.
Repotting Monstera Peru
When to Repot
- Timing: Repot in the spring or early summer when the plant is actively growing.
- Signs it Needs Repotting:
- Roots are growing out of the drainage holes.
- The plant is top-heavy and becoming unstable.
- The soil dries out quickly after watering.
Steps to Repot
- Prepare the New Pot:
- Choose a pot that is 1-2 inches larger in diameter than the current pot.
- Ensure it has adequate drainage holes.
- Remove the Plant from the Old Pot:
- Water the plant a day before repotting to make it easier to remove.
- Gently tilt the pot and ease the plant out, supporting the root ball.
- Inspect the Roots:
- Check for any root rot or damaged roots and trim them with sterilized scissors.
- If the roots are tightly bound, gently loosen them to encourage outward growth.
- Prepare the New Soil Mix:
- Use the same well-draining, loamy soil mix as mentioned earlier.
- Repot the Plant:
- Add a layer of soil to the bottom of the new pot.
- Place the Monstera Peru in the center, maintaining the same depth as before.
- Fill in around the root ball with the soil mix, pressing gently to remove air pockets.
- Watering:
- Water thoroughly to help settle the soil and eliminate air pockets.
- Allow the excess water to drain out completely.
- Post-Repotting Care:
- Place the plant in a location with bright, indirect light.
- Maintain consistent humidity and avoid direct sunlight to reduce transplant shock.
- Monitor the plant for any signs of stress and adjust care as needed.
By following these steps, you can ensure your Monstera Peru continues to thrive and grow healthily after potting and repotting.
How To Care Monstera Peru?
Monstera Peru is a unique and attractive houseplant with textured, deep green leaves. Here’s a comprehensive care guide to keep your Monstera Peru thriving:
Light
- Bright, Indirect Light: Monstera Peru prefers bright, indirect light. It can tolerate lower light conditions but will grow more slowly.
- Avoid Direct Sunlight: Direct sunlight can scorch its leaves.
Watering
- Moderate Watering: Water your Monstera Peru when the top 1-2 inches of soil are dry. Overwatering can lead to root rot.
- Drainage: Ensure the pot has good drainage to prevent water from sitting at the bottom.
Humidity
- High Humidity: This plant thrives in high humidity. Consider using a humidifier or placing it in a room with higher humidity, like a bathroom.
- Mist the Leaves: Regularly mist the leaves to increase humidity.
Temperature
- Ideal Range: Keep the temperature between 60-85°F (16-29°C).
- Avoid Cold Drafts: Protect the plant from cold drafts and sudden temperature changes.
Soil
- Well-Draining Soil: Use a well-draining potting mix, such as a mix for aroids or a combination of regular potting soil, perlite, and orchid bark.
Fertilization
- Regular Feeding: Fertilize monthly during the growing season (spring and summer) with a balanced, water-soluble fertilizer diluted to half strength.
- Reduce in Winter: Reduce fertilization frequency in the winter months when the plant’s growth slows down.
Pruning
- Occasional Pruning: Prune occasionally to remove any dead or yellowing leaves and to maintain the desired shape and size.
Repotting
- Repot Every 1-2 Years: Repot your Monstera Peru every 1-2 years or when it becomes root-bound. Choose a pot that is 1-2 inches larger in diameter than the current one.
Propagation
- Stem Cuttings: Propagate through stem cuttings. Cut a section of the stem with at least one node and place it in water or soil until roots develop.
Pests and Problems
- Watch for Pests: Keep an eye out for common houseplant pests such as spider mites, mealybugs, and scale. Treat infestations promptly with insecticidal soap or neem oil.
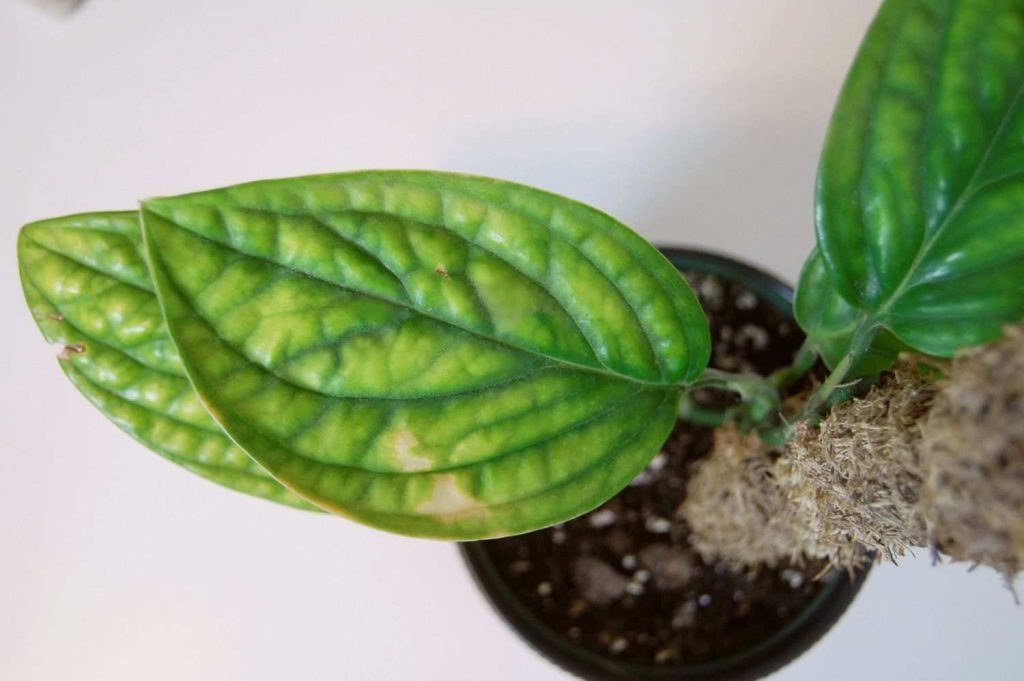
- Yellow Leaves: Yellow leaves can indicate overwatering or poor drainage. Adjust your watering habits and check the soil drainage.
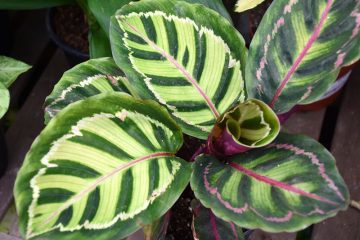
By following these care tips, your Monstera Peru will grow healthy and vibrant, adding a touch of tropical beauty to your home. While talking about tropical beauty we cannot forget Rose Painted Calathea which also provides a great tropical beauty.
How To Propagate Monstera Peru? Traditional & Innovative Methods
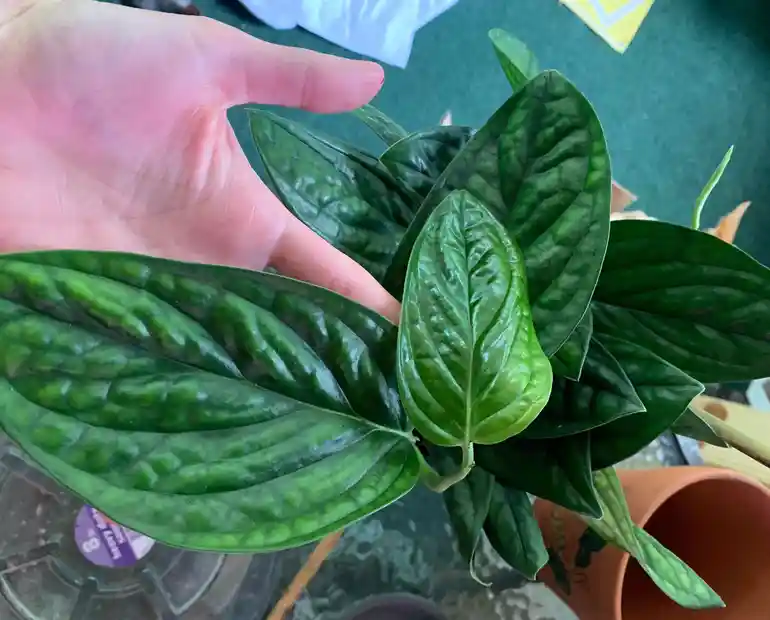
Propagating Monstera Peru can be a rewarding experience. This hardy and attractive plant can be propagated through several methods, each with its own steps and unique techniques. Here’s a detailed guide to propagating Monstera Peru along with some innovative approaches:
Traditional Propagation Methods
1. Stem Cuttings in Water
Steps:
- Choose a Healthy Stem: Select a stem with at least one node and a few leaves.
- Cut the Stem: Using a clean, sharp knife or scissors, cut the stem just below a node.
- Place in Water: Put the cutting in a jar or glass of water, ensuring the node is submerged.
- Change Water Regularly: Replace the water every few days to prevent stagnation and bacterial growth.
- Wait for Roots to Develop: After a few weeks, you should see roots emerging from the node.
- Plant in Soil: Once the roots are a few inches long, transplant the cutting into soil.
2. Stem Cuttings in Soil
Steps:
- Prepare the Cutting: As above, select and cut a healthy stem.
- Dip in Rooting Hormone: Optional, but dipping the cut end in rooting hormone can help speed up root development.
- Plant in Soil: Insert the cutting into a pot filled with well-draining soil.
- Water and Care: Water the soil thoroughly and keep it moist, but not waterlogged.
- Provide Humidity: Cover the cutting with a plastic bag or place it in a humid environment to encourage root growth.
Innovative Propagation Methods
1. Air Layering
Steps:
- Select a Healthy Stem: Choose a stem that is still attached to the mother plant.
- Make a Small Cut: Make a small, shallow cut just below a node.
- Wrap with Moss: Wrap damp sphagnum moss around the cut area.
- Cover with Plastic: Secure the moss with plastic wrap or a plastic bag to keep it moist.
- Wait for Roots: Roots will start to form in the moss after a few weeks.
- Cut and Plant: Once roots are visible, cut the stem below the moss and plant it in soil.
2. Propagation by Leaf Petioles
Steps:
- Choose a Healthy Leaf: Select a leaf with a healthy petiole (the stalk that attaches the leaf to the stem).
- Cut the Petiole: Cut the petiole close to the stem.
- Place in Water: Put the petiole in water, ensuring the cut end is submerged.
- Wait for Roots: Roots will start to form from the cut end.
- Plant in Soil: Once roots are a few inches long, plant the petiole in soil.
3. Propagation by Division
Steps:
- Remove the Plant from the Pot: Carefully take the mother plant out of its pot.
- Separate the Root Ball: Gently separate the root ball into smaller sections, ensuring each section has a healthy root system and stem.
- Replant the Sections: Plant each section into its own pot with fresh soil.
- Water and Care: Water the new plants thoroughly and provide proper care as they establish themselves.
Innovative Techniques
1. Hydroponic Propagation
Steps:
- Set Up a Hydroponic System: Use a hydroponic setup with a nutrient solution.
- Prepare Stem Cuttings: As described above, take stem cuttings with nodes.
- Place in Hydroponic System: Insert the cuttings into the system, ensuring the nodes are submerged in the nutrient solution.
- Monitor Growth: Maintain the system and monitor the growth of roots and new leaves.
2. Propagation Using Plant Tissue Culture
Steps:
- Prepare a Sterile Environment: Tissue culture requires a sterile environment to prevent contamination.
- Take Small Sections of Tissue: Using sterile tools, take small sections of plant tissue from a healthy Monstera Peru.
- Place in Culture Medium: Place the tissue sections in a culture medium that provides nutrients and hormones.
- Monitor and Transfer: Keep the culture medium in controlled conditions (light, temperature, humidity) and transfer the plantlets to soil once they develop.
Monstera Peru: Common Pests and Prevention
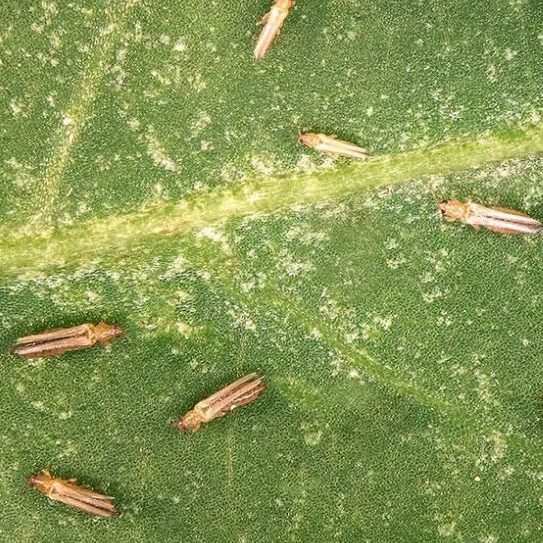
The Monstera Peru, a popular houseplant known for its textured, glossy leaves, is susceptible to several common pests. Regular inspection and early intervention are key to keeping your plant healthy. Here are the pests you need to watch out for and tips on managing them:
- Fungus Gnats
- Signs: Small, black flies around the plant, larvae in the soil.
- Prevention: Avoid overwatering and let the soil dry out between waterings.
- Treatment: Use sticky traps to catch adults and a hydrogen peroxide solution to kill larvae.
- Mealybugs
- Signs: White, cotton-like masses on leaves and stems.
- Prevention: Inspect new plants before bringing them indoors and regularly check your Monstera Peru.
- Treatment: Wipe the plant with a cotton swab dipped in rubbing alcohol or use insecticidal soap.
- Scale
- Signs: Brown, oval, shell-like bumps on the stems and undersides of leaves.
- Prevention: Keep your plant clean by wiping leaves with a damp cloth.
- Treatment: Remove scale with a soft brush or cloth and treat with neem oil or horticultural oil.
- Spider Mites
- Signs: Tiny, red or brown dots on leaves and fine webbing between leaves and stems.
- Prevention: Increase humidity around the plant, as spider mites thrive in dry conditions.
- Treatment: Spray the plant with a mixture of water and insecticidal soap, and rinse thoroughly.
- Whiteflies
- Signs: Small, white, moth-like insects on the undersides of leaves, sticky residue on leaves.
- Prevention: Yellow sticky traps can help monitor and control whitefly populations.
- Treatment: Use insecticidal soap or neem oil and ensure thorough coverage of the plant.
General Tips for Pest Prevention and Control
- Regular Inspection: Check your Monstera Peru weekly for any signs of pests. Early detection can prevent a minor issue from becoming a major infestation.
- Isolate Infested Plants: If you notice any pests, isolate the affected plant to prevent them from spreading to other houseplants.
- Cleanliness: Maintain a clean growing environment by removing dead leaves and debris that can harbor pests.
- Proper Watering: Avoid overwatering as it can create a conducive environment for pests like fungus gnats. Ensure proper drainage.
Common Problems With Monstera Peru
Monstera Peru (Monstera karstenianum), like many houseplants, can encounter several common issues. Here are some typical problems and their solutions:

- Yellowing Leaves:
- Overwatering: Ensure the soil is well-draining and that you allow the top inch of soil to dry out before watering again. Overwatering can lead to root rot.
- Underwatering: If the leaves are dry and crispy, you might not be watering enough. Water the plant thoroughly and maintain consistent watering practices.
- Nutrient Deficiency: Ensure the plant is getting enough nutrients by using a balanced houseplant fertilizer during the growing season.
- Browning Leaf Edges or Tips:
- Low Humidity: Monstera Peru thrives in high humidity. Increase humidity by misting the plant regularly, using a humidifier, or placing the pot on a tray filled with pebbles and water.
- Underwatering: Similar to yellowing leaves, underwatering can cause browning tips. Ensure regular and adequate watering.
- Leaf Drop:
- Environmental Stress: Changes in temperature, light, or humidity can cause leaves to drop. Keep the plant in a stable environment with consistent care.
- Pests: Check for pests like spider mites, scale, or mealybugs, which can cause stress and leaf drop. Treat with appropriate insecticides or natural remedies if pests are found.
- Slow Growth:
- Insufficient Light: Monstera Peru prefers bright, indirect light. If the plant is not getting enough light, it may grow slowly. Move it to a brighter spot, but avoid direct sunlight, which can scorch the leaves.
- Nutrient Deficiency: Regular feeding during the growing season can promote healthy growth. Use a balanced fertilizer to provide essential nutrients.
- Pests:
- Common Pests: Monstera Peru can be affected by spider mites, scale, mealybugs, and aphids. Regularly inspect your plant for pests and treat them promptly with insecticidal soap, neem oil, or other suitable treatments.
- Prevention: Keep the plant clean by wiping the leaves with a damp cloth to prevent pest infestations.
- Root Rot:
- Overwatering: Ensure the plant is not sitting in water and that the pot has adequate drainage. If root rot is suspected, remove the plant from the pot, trim away affected roots, and repot in fresh, well-draining soil.


I’m gone to tell my little brother, that he should also pay a quick visit this blog on regular basis to
get updated from newest information.